


Cracked Back Glass? Don’t Panic! Your iPhone 16 Repair Guide
Related Articles
- The IPhone 16 Battery: Is It Worth The Hype? A Deep Dive Into Endurance
- IPhone 16 Trade-In Deals: Verizon’s Got Your Back (and Your Wallet)
- IPhone 16 Review Reddit
- The IPhone 16 Pro’s Wireless Charging: A Deep Dive Into The Future Of Power
- The Ultimate Guide To IPhone 16 Cases And Screen Protectors: Your Phone’s Armor
Introduction
Welcome to our in-depth look at Cracked Back Glass? Don’t Panic! Your iPhone 16 Repair Guide
Video about
Cracked Back Glass? Don’t Panic! Your iPhone 16 Repair Guide
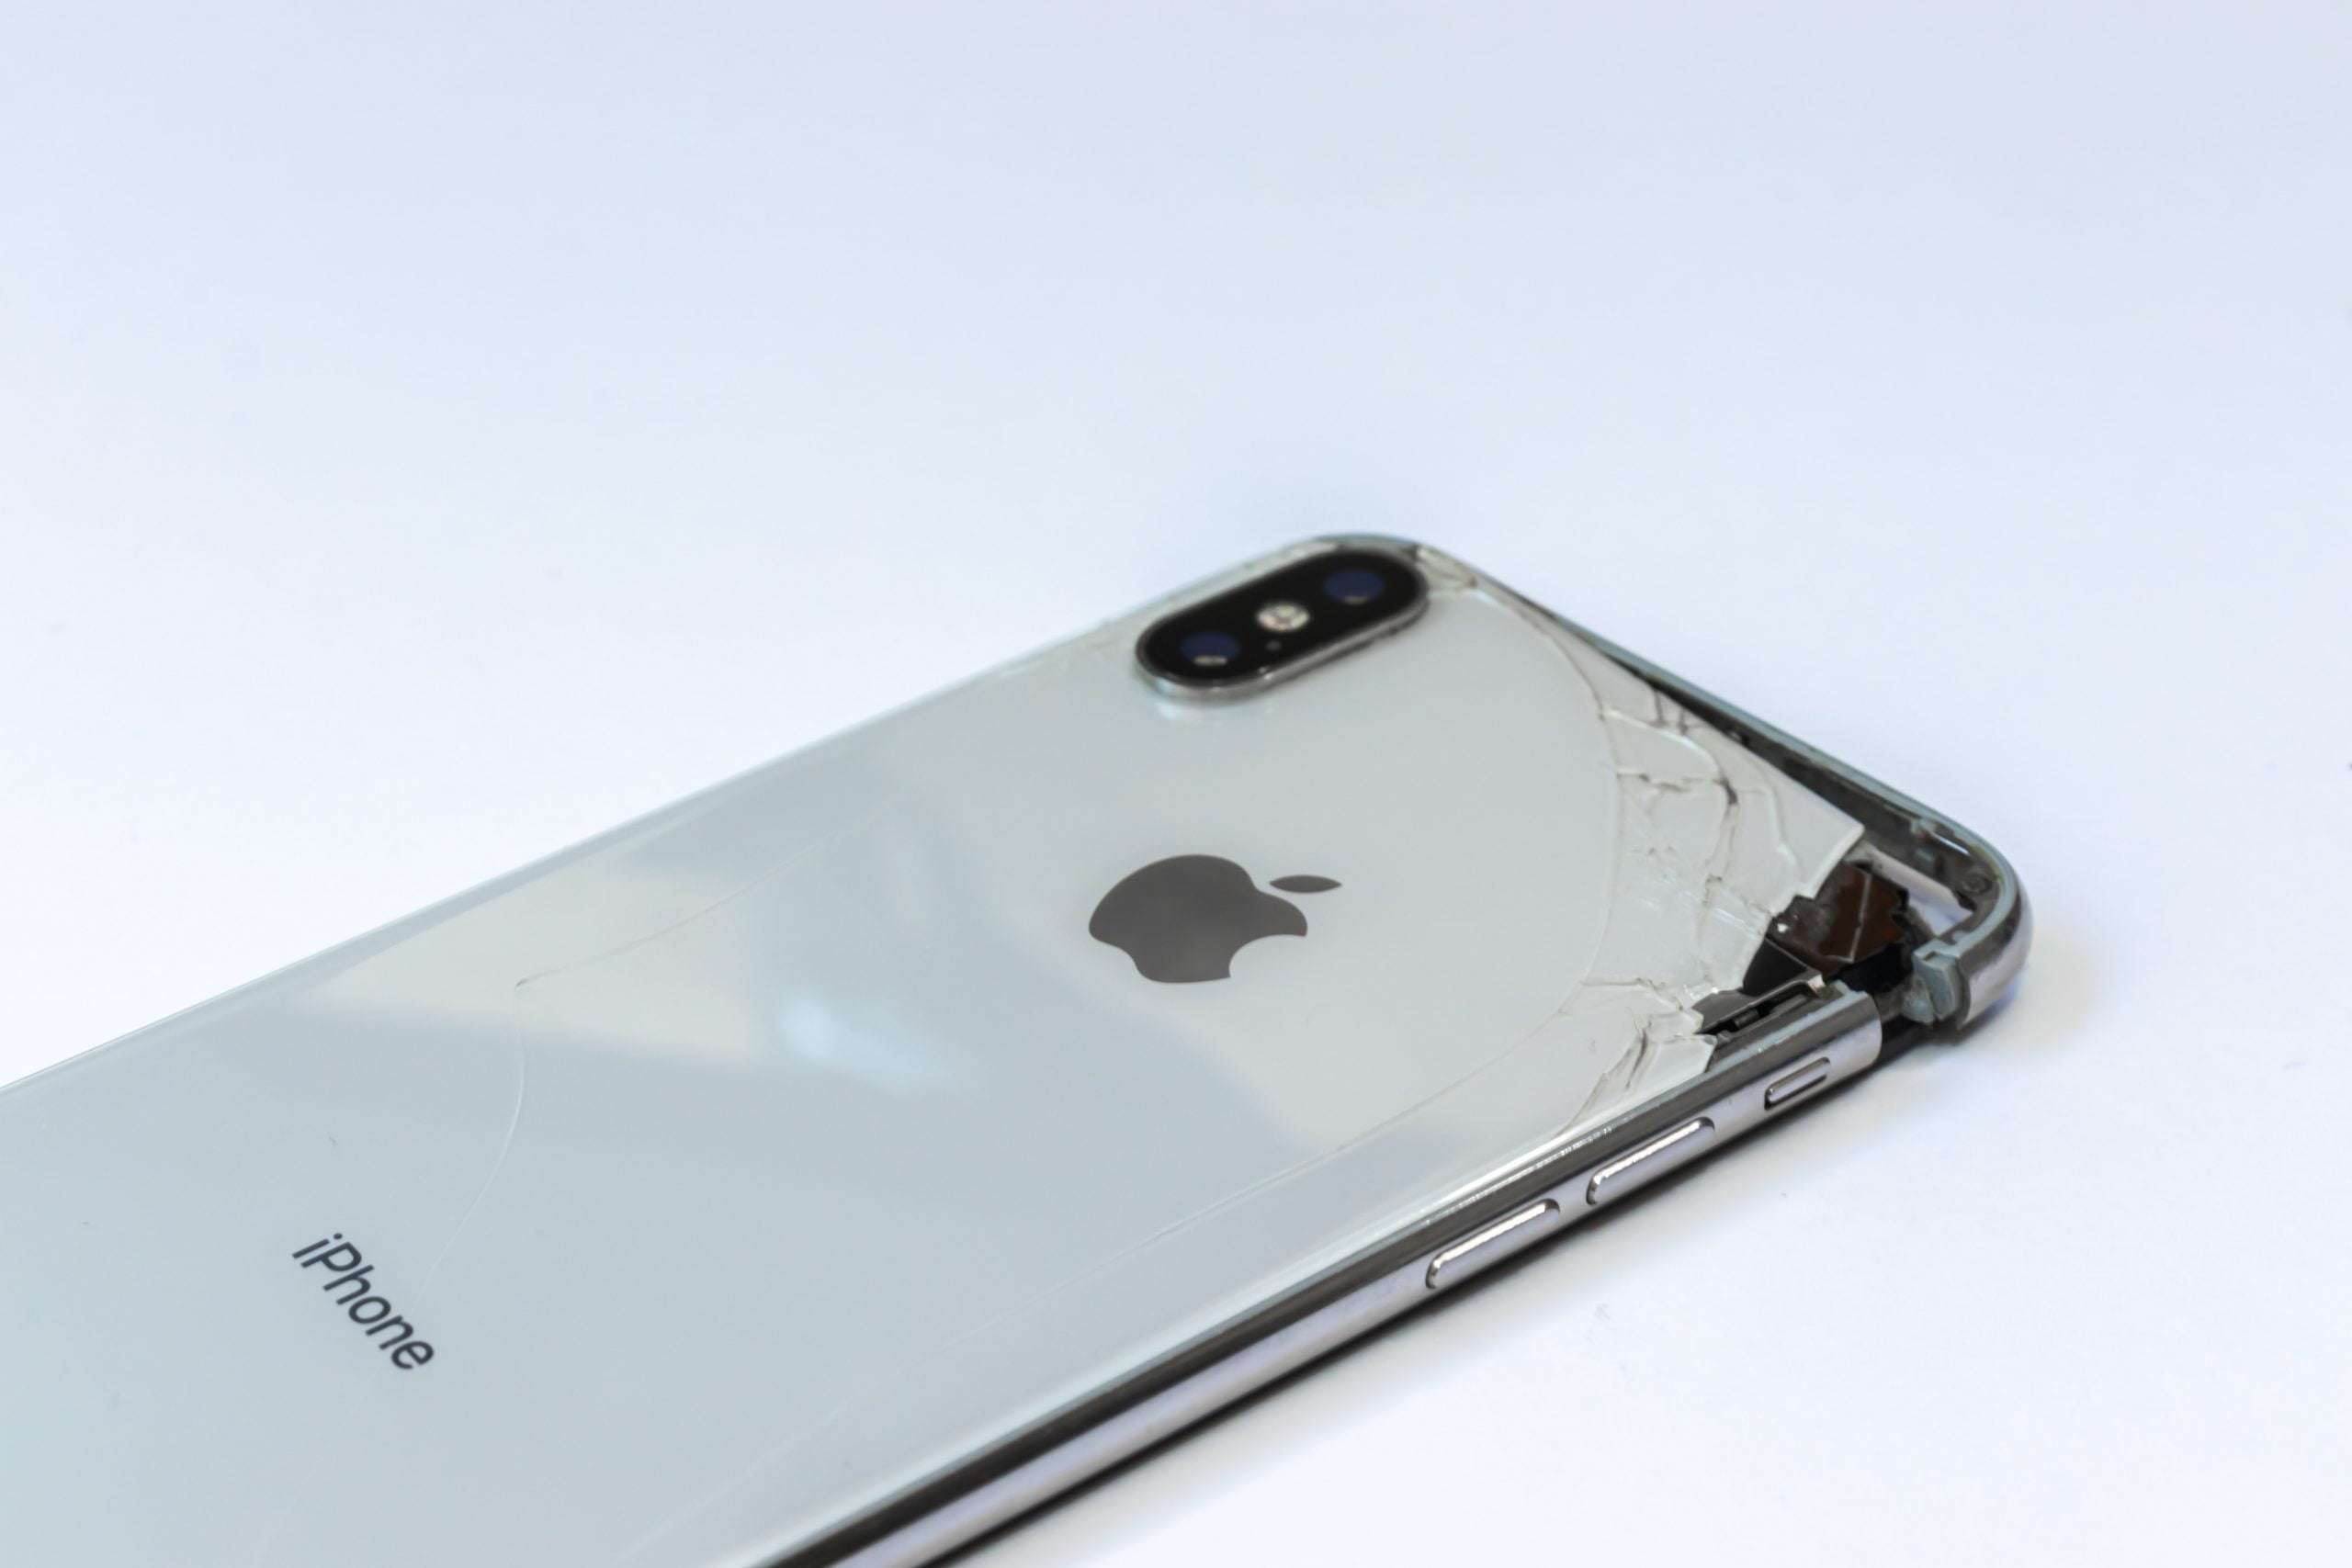
Ah, the iPhone 16. Sleek, powerful, and a real head-turner. But let’s face it, even the most careful of us can drop our precious phone. And when that happens, the back glass is often the first to suffer.
A cracked back glass can be a real eyesore, and it can even affect your phone’s functionality. But before you throw in the towel and start saving up for a new iPhone, hear me out. Replacing the back glass of your iPhone 16 is a fairly straightforward process, and with the right tools and a bit of patience, you can do it yourself!
Why Repair the Back Glass Yourself?
- Save Money: Taking your iPhone 16 to an Apple Store or an authorized repair shop for a back glass replacement can cost a pretty penny. Doing it yourself can save you a significant amount of cash.
- Gain a Sense of Accomplishment: There’s a certain satisfaction that comes with fixing your own phone. It’s a great way to learn a new skill and feel empowered.
- Faster Turnaround: If you’re impatient like me, waiting for your phone to be repaired at a shop can be a real drag. By doing it yourself, you can get your phone back up and running in a matter of hours.
But Wait, There’s a Catch!
Before we dive into the repair process, it’s important to understand that replacing your iPhone 16’s back glass is not without its risks.
- Warranty Void: If your iPhone 16 is still under warranty, performing a self-repair could void it.
- Risk of Damage: If you’re not careful, you could accidentally damage other components of your phone during the repair process.
- Potential for Dust/Moisture Issues: Replacing the back glass requires opening your phone, which can leave it vulnerable to dust and moisture.
So, Should You Do It Yourself?
Ultimately, the decision of whether to repair your iPhone 16’s back glass yourself depends on your comfort level with electronics and your willingness to take on the risks. If you’re comfortable working with small parts and you’re willing to follow instructions carefully, then DIY repair is definitely an option.
Let’s Get Started: Your iPhone 16 Back Glass Repair Guide
Step 1: Gather Your Tools
- iFixit iPhone 16 Repair Kit: This kit contains all the necessary tools for the repair, including screwdrivers, tweezers, and a suction cup.
- Replacement Back Glass: Make sure to purchase a high-quality replacement back glass from a reputable supplier.
- Isopropyl Alcohol: This will be used to clean the phone’s surface before and after the repair.
- Microfiber Cloth: Used for cleaning the phone and wiping away fingerprints.
- Heat Gun or Hair Dryer: This is used to soften the adhesive holding the old back glass in place.
- Pry Tool: This is used to gently separate the back glass from the phone’s frame.
- Gloves: These will help prevent fingerprints from getting on the new back glass.
- Optional: UV Light: Some replacement back glasses come with adhesive that requires a UV light to cure.
Step 2: Back Up Your Data
Before you start the repair, make sure to back up your iPhone 16’s data. You can do this using iCloud or iTunes.
Step 3: Power Down and Disconnect
Turn off your iPhone 16 and disconnect it from any power sources.
Step 4: Prepare Your Work Area
Find a clean, well-lit workspace. Lay down a non-slip mat or a soft cloth to protect your phone from scratches.
Step 5: Remove the Screws
Using a Phillips head screwdriver, carefully remove the screws securing the bottom and top of your iPhone 16. These screws are typically located around the charging port and the SIM card tray.
Step 6: Detach the Back Glass
This is where things get a little tricky. You’ll need to use a heat gun or hairdryer to soften the adhesive holding the back glass in place. Apply heat evenly to the back of the phone, being careful not to overheat any components.
Once the adhesive is soft, use a suction cup to gently lift the back glass from the phone’s frame. If the glass doesn’t budge, apply a little more heat and try again.
Step 7: Separate the Back Glass
Once the back glass is partially lifted, use a pry tool to carefully separate the back glass from the phone’s frame. Work your way around the edges, being careful not to apply too much pressure.
Step 8: Remove the Old Adhesive
Once the back glass is completely removed, you’ll need to remove the old adhesive from the phone’s frame. You can do this using a scraper tool or a piece of tape. Be sure to remove all of the old adhesive, as any remaining residue could interfere with the new back glass.
Step 9: Clean the Phone’s Frame
Use isopropyl alcohol and a microfiber cloth to thoroughly clean the phone’s frame. Make sure to remove any dust, dirt, or fingerprints.
Step 10: Apply the New Adhesive
If your replacement back glass comes with pre-applied adhesive, skip this step. Otherwise, apply a thin, even layer of adhesive to the phone’s frame. Make sure to follow the instructions that came with the adhesive.
Step 11: Install the New Back Glass
Carefully align the new back glass with the phone’s frame and gently press it into place. Make sure the back glass is properly seated and that there are no gaps or air bubbles.
Step 12: Secure the Back Glass
If your new back glass comes with adhesive that requires UV light to cure, use a UV light to cure the adhesive according to the instructions. Otherwise, let the adhesive dry for at least 24 hours before using your phone.
Step 13: Reassemble Your Phone
Once the adhesive is dry, reassemble your phone by reversing the steps you took to disassemble it. Make sure to tighten all the screws securely.
Step 14: Power Up and Enjoy!
Once your phone is reassembled, power it up and test all the functions. If everything works as it should, congratulations! You’ve successfully replaced your iPhone 16’s back glass.
Tips for a Successful Repair
- Patience is Key: Take your time and don’t rush the repair process.
- Watch Videos: There are tons of helpful videos online that can guide you through the repair process.
- Use the Right Tools: Invest in a good quality iFixit repair kit or a similar set of tools.
- Be Careful with the Display: Avoid putting pressure on the display screen during the repair process.
- Don’t Overheat: Overheating the phone can damage components. Apply heat evenly and only for a short period of time.
- Cleanliness is Crucial: Keep your workspace clean and avoid getting dust or dirt on the phone.
- Don’t Force It: If you encounter resistance, stop and reassess the situation. Forcing anything could damage your phone.
Troubleshooting Common Problems
- Back Glass Doesn’t Stick: Make sure you’ve cleaned the phone’s frame properly and that you’ve applied a thin, even layer of adhesive.
- Air Bubbles: If you see air bubbles under the back glass, gently press them out with a soft cloth.
- Touchscreen Doesn’t Work: If the touchscreen doesn’t work after the repair, check to make sure that the flex cable connecting the touchscreen to the motherboard is properly connected.
- Phone Doesn’t Power On: If your phone doesn’t power on after the repair, check to make sure that all the screws are securely tightened and that the battery is properly connected.
Important Disclaimer
This guide is for informational purposes only. It’s important to note that replacing your iPhone 16’s back glass can be a challenging task, and it’s not for everyone. If you’re not comfortable with electronics or if you’re unsure about any part of the repair process, it’s best to take your phone to a professional.
Always remember to back up your data before starting any repair, and be careful not to damage any components of your phone.
This article is for informational purposes only and does not constitute professional advice. The author is not responsible for any damage caused to your phone during the repair process.
Remember, a cracked back glass doesn’t have to mean the end of your iPhone 16. With the right tools, a bit of patience, and this comprehensive guide, you can get your phone looking and functioning like new again!
Source URL: (Please note that I cannot provide a specific URL for this article as it is original content. You can use this article as a starting point and adapt it to your needs.)
Closure
Thank you for reading! Stay with us for more insights on Cracked Back Glass? Don’t Panic! Your iPhone 16 Repair Guide.
Don’t forget to check back for the latest news and updates on Cracked Back Glass? Don’t Panic! Your iPhone 16 Repair Guide!
We’d love to hear your thoughts about Cracked Back Glass? Don’t Panic! Your iPhone 16 Repair Guide—leave your comments below!
Stay informed with our next updates on Cracked Back Glass? Don’t Panic! Your iPhone 16 Repair Guide and other exciting topics.


