


Unlock the Night: Maximizing Your iPhone Camera for Stellar Night Photos
Related Articles: Unlock the Night: Maximizing Your iPhone Camera for Stellar Night Photos
- Top Reasons to Pre-Order the iPhone 16 Today
- Unleash Your IPhone’s Power: Home Screen Organization For A Stellar Workflow
- Slash Your IPhone Data Bill In 2024: Smart Strategies For Saving Money
- Unlocking The Value Of Your Old IPhone: Maximizing Your Trade-In Return For The IPhone 16
- IPhone 16: What To Expect From Apple’s Next Flagship
Introduction
Discover everything you need to know about Unlock the Night: Maximizing Your iPhone Camera for Stellar Night Photos
Video about Unlock the Night: Maximizing Your iPhone Camera for Stellar Night Photos
Unlock the Night: Maximizing Your iPhone Camera for Stellar Night Photos

The world transforms at night. Cityscapes shimmer with neon lights, starry skies come alive, and even everyday scenes take on an ethereal glow. Capturing this magic with your iPhone camera can be a rewarding experience, but it requires understanding how to navigate the challenges of low-light photography.
This guide will empower you to unlock the full potential of your iPhone camera and take stunning night photos, whether you’re shooting cityscapes, star trails, or simply capturing the beauty of a moonlit landscape.
Understanding the Challenges of Night Photography
While our iPhones are remarkably capable, they still face limitations in low-light conditions. Here’s what you need to know:
- Limited Light: The primary challenge is the lack of light. Your camera sensor needs sufficient light to capture a clear image, and darkness means less light to work with. This results in grainy images, noise, and potentially blurry shots.
- Motion Blur: Even the slightest movement can create blur in low light. This is because the camera needs to keep the shutter open longer to capture enough light, making it susceptible to shake.
- Focus Issues: Autofocus systems struggle in low light, making it harder for your camera to lock onto the subject.
Mastering the iPhone Camera Settings

The key to overcoming these challenges lies in understanding and utilizing the iPhone’s camera settings effectively:
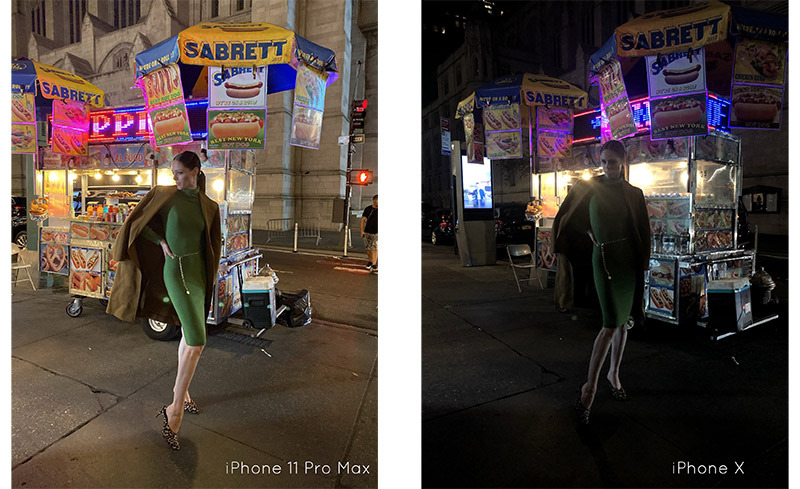
1. Embrace the Night Mode:
The iPhone’s Night Mode is your secret weapon for capturing stunning night photos. Here’s how it works:
- Longer Exposure: Night Mode takes multiple photos over a longer duration, effectively gathering more light. This results in brighter images with less noise.
- Image Stabilization: The iPhone’s built-in image stabilization helps minimize blur, even when shooting handheld.
- Smart Processing: The iPhone’s powerful processor analyzes the scene and adjusts exposure settings automatically, ensuring optimal results.
To activate Night Mode:
- Identify the Night Mode Icon: Look for the moon icon on your camera interface. It will appear when the lighting conditions are dim enough for Night Mode to be activated.
- Adjust the Exposure Time: You can manually adjust the exposure time by tapping the moon icon and sliding the slider. This gives you more control over the brightness and the amount of detail captured.
2. Harness the Power of Manual Control:
While Night Mode is a fantastic tool, you can further enhance your night photography by taking manual control:
- Focus: Use the tap-to-focus feature to ensure your subject is sharp. You can also tap and hold to lock focus and exposure.
- Exposure: Adjust the exposure level by swiping up or down on the screen. This allows you to control the brightness of the image.
- ISO: While the iPhone automatically adjusts ISO, you can experiment with higher ISO settings (e.g., 400-800) for brighter images, but be aware of potential noise increase.
- Shutter Speed: While Night Mode handles shutter speed automatically, you can explore longer exposures (using a tripod) for dramatic effects, especially when shooting star trails.
3. Embrace the Third-Party Apps:
For advanced control and creative possibilities, consider using third-party camera apps:
- ProCamera: Offers extensive manual controls, RAW capture, and advanced features like time-lapse and long exposure.
- Halide: Known for its intuitive interface and focus on image quality, offering manual controls and RAW capture.
- Camera+ 2: Provides a comprehensive set of features, including advanced manual controls, filters, and editing tools.
4. Composition and Framing:
Even with the best camera settings, a well-composed photograph makes all the difference:
- Rule of Thirds: Divide your frame into nine equal squares. Place your subject along the intersecting lines or at the points where they meet for a more balanced and engaging composition.
- Leading Lines: Utilize natural lines in the scene, like roads, paths, or buildings, to guide the viewer’s eye towards the subject.
- Symmetry and Patterns: Look for repeating patterns or symmetrical elements in the scene to create visually pleasing images.
- Negative Space: Leave some empty space around your subject to give it room to breathe and create a sense of balance.
5. Enhancing Your Night Photos:
Even the most perfectly captured night photos can benefit from a little post-processing:
- Lightroom Mobile: Offers a comprehensive suite of editing tools for adjusting brightness, contrast, color, and more.
- Snapseed: Provides a user-friendly interface with a wide range of editing tools, including selective adjustments, cropping, and filters.
- VSCO: Offers a curated collection of filters and editing tools for creating stunning and artistic images.
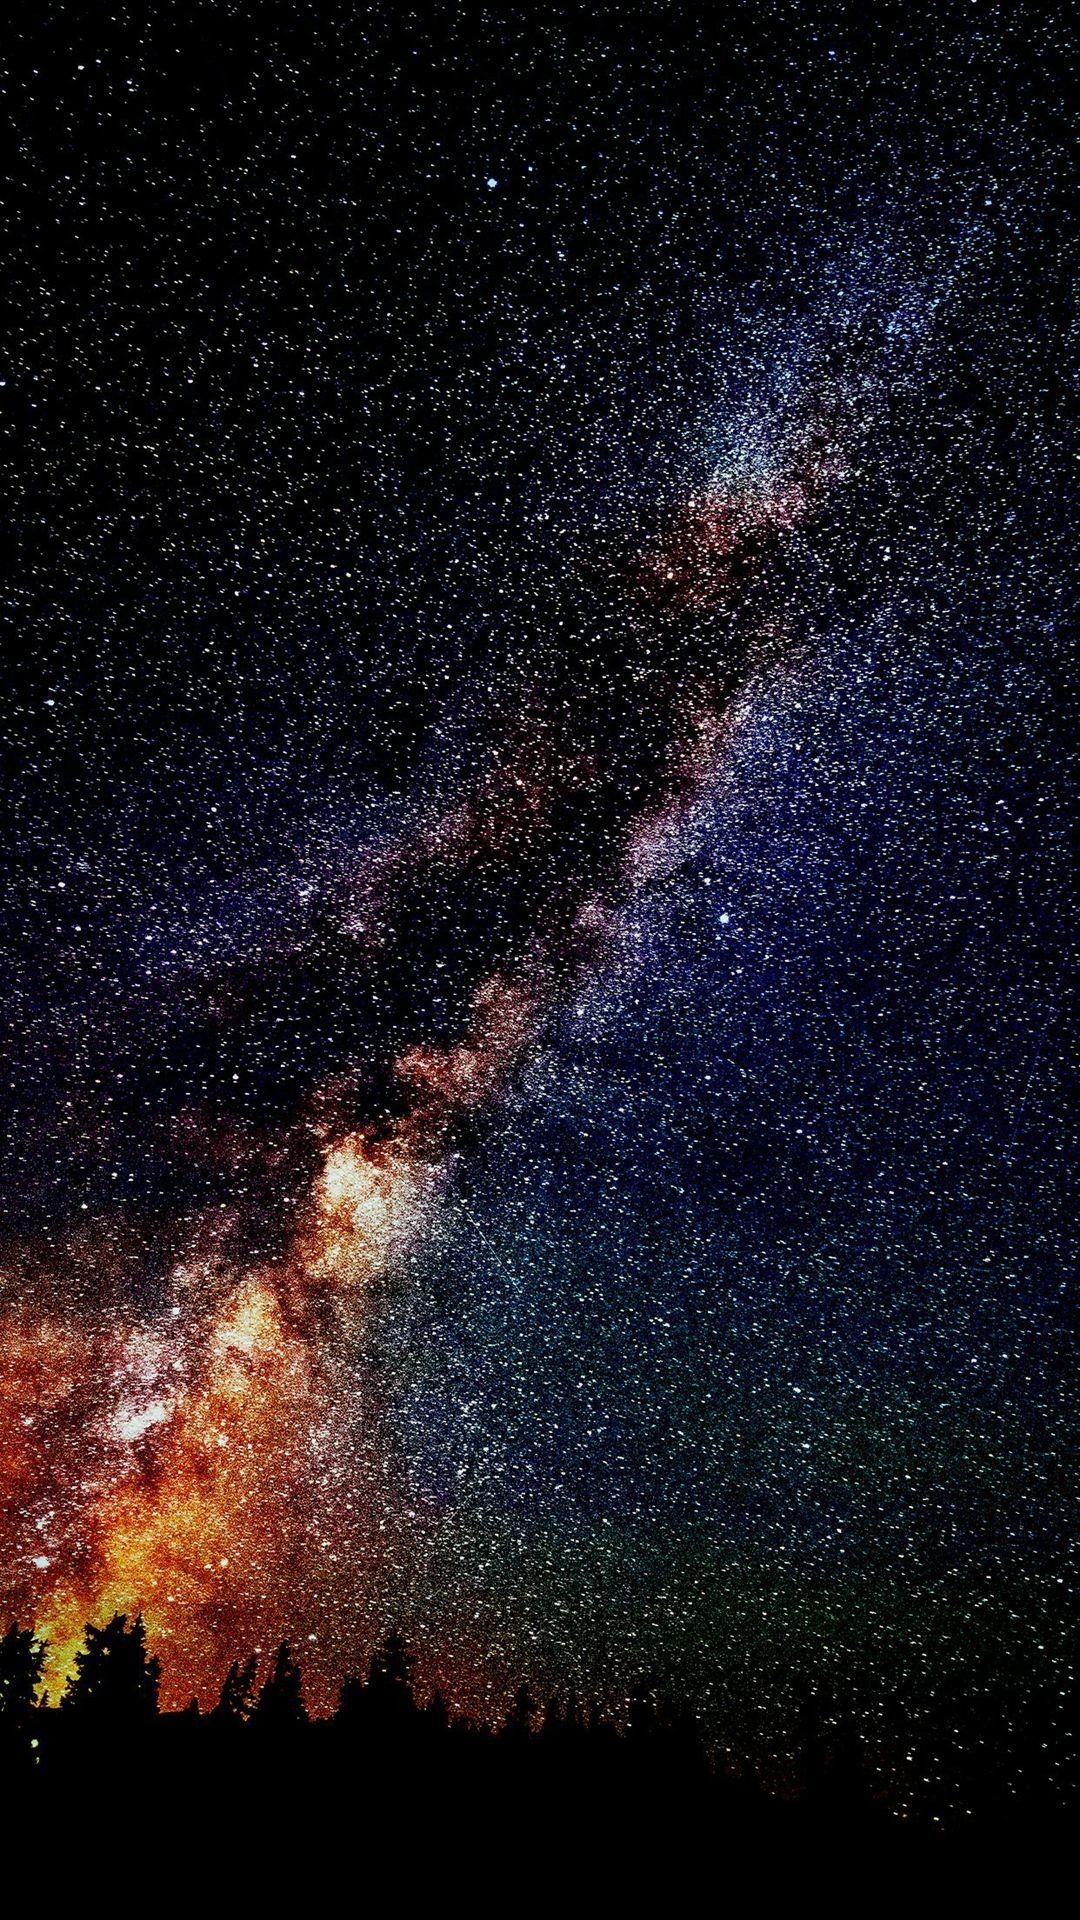
6. Capturing the Beauty of the Night Sky:
Shooting stars, the Milky Way, and constellations can add a magical touch to your night photography. Here are some tips:
- Find a Dark Sky Location: Avoid light pollution by finding a location away from city lights.
- Use a Tripod: A tripod is essential for long exposures to prevent camera shake and capture sharp images of the stars.
- Experiment with Shutter Speed: Adjust the shutter speed to capture the movement of the stars, creating star trails.
- Use a Remote Shutter: Avoid camera shake by using a remote shutter release or your iPhone’s timer.
7. Capturing Cityscapes at Night:
Cityscapes at night offer unique opportunities for vibrant and dynamic photos. Here are some tips:
- Find Interesting Angles: Explore different perspectives and angles to capture the city’s lights and reflections in new and exciting ways.
- Use Reflections: Look for reflections in water, glass, or even puddles to add depth and interest to your photos.
- Experiment with Slow Shutter Speeds: Capture the movement of traffic lights and cars for a sense of motion and energy.
8. Capturing the Moon:
The moon is a captivating subject for night photography. Here’s how to capture its beauty:
- Use a Tripod: A tripod is essential for capturing sharp images of the moon, especially at long focal lengths.
- Adjust Exposure: Adjust the exposure to balance the brightness of the moon with the surrounding scene.
- Experiment with Filters: Use a polarizing filter to reduce glare and enhance the moon’s colors.
9. Essential Accessories for Night Photography:
While your iPhone camera is powerful, these accessories can elevate your night photography:
- Tripod: Provides stability for long exposures, especially when shooting stars or cityscapes.
- Remote Shutter: Allows you to trigger the shutter without touching the phone, minimizing camera shake.
- External Flash: Can be used to illuminate subjects in the foreground or create dramatic lighting effects.
- Lens Filters: Polarizing filters reduce glare and enhance colors, while ND filters allow for longer exposures.
10. Safety First:
Night photography often involves venturing into unfamiliar or dark locations. Always prioritize safety:
- Let Someone Know: Inform someone about your plans and expected return time.
- Stay in Well-Lit Areas: Avoid venturing into isolated or poorly lit areas.
- Be Aware of Your Surroundings: Stay vigilant and be aware of your surroundings, especially in urban areas.
Beyond the Basics: Exploring Creative Techniques
Once you’ve mastered the basics, explore these creative techniques to elevate your night photography:
- Light Painting: Use a flashlight or other light source to paint patterns and shapes in the air during long exposures.
- Silhouettes: Capture the outline of your subject against a bright background, creating a dramatic and mysterious effect.
- Long Exposure: Use a tripod and a slow shutter speed to capture the movement of lights, water, or clouds.
- HDR: Combine multiple exposures to create images with a wider dynamic range, capturing detail in both highlights and shadows.
- Star Trails: Capture the movement of stars over a long period, creating mesmerizing trails of light.
Conclusion: Unleash Your Inner Night Photographer
Night photography offers a unique and rewarding experience, allowing you to capture the world in a different light. By understanding the challenges and utilizing the right tools and techniques, you can transform your iPhone camera into a powerful tool for capturing the magic of the night.
Remember, practice is key. Experiment with different settings, compositions, and creative techniques to develop your own unique style. Embrace the challenges and explore the boundless possibilities of night photography with your iPhone.
Closure
We hope this article has helped you understand everything about Unlock the Night: Maximizing Your iPhone Camera for Stellar Night Photos. Stay tuned for more updates!
Don’t forget to check back for the latest news and updates on Unlock the Night: Maximizing Your iPhone Camera for Stellar Night Photos!
We’d love to hear your thoughts about Unlock the Night: Maximizing Your iPhone Camera for Stellar Night Photos—leave your comments below!
Keep visiting our website for the latest trends and reviews.


